How to take product photos with your phone (that don’t look like phone photos)
Most product photos look cheap for three reasons: bad light, a busy background and a lens that’s too close to the product. None of them is fixed by a better camera.
If you sell anything online, you’ve probably looked at your listing next to a competitor’s and wondered why theirs looks like a catalogue and yours looks like a garage sale. Usually it isn’t their camera. It’s the light, and it’s the setup around the product.
Here’s the setup we recommend to anyone starting out. It costs almost nothing, fits on a kitchen table and works with any phone made in the last five years.
What you need
A window. A sheet of white foam board or thick paper, roughly A2 size. A second sheet if you can get one. Some tape. Something to rest your phone on, like a stack of books or a cheap tripod.
That’s it. You don’t need a lightbox. Small lightboxes give very flat light, and they make it hard to photograph anything bigger than a mug.
Light: use the window, turn everything else off
Put your table next to a window, so the light comes in from the side of the product, not from behind your phone. Side light shows shape and texture. Light from straight ahead flattens everything.
A cloudy day is better than a sunny one. Clouds turn the whole sky into one huge, soft light source. If the sun is shining straight in, tape a sheet of baking paper or a thin white curtain over the window.
Then turn off the lights in the room. This is the step people skip, and it matters. Ceiling bulbs are a different colour from daylight, so mixing them gives you a product that’s blue on one side and orange on the other. No editing app fixes that cleanly.
Finally, stand the second white sheet on the side away from the window. It bounces light back into the shadows, so the dark side of the product doesn’t turn into a black blob.
The background matters less than you think
If you’re going to put the product on pure white afterwards anyway, the background you shoot on doesn’t need to be white. What it needs is contrast. A white mug on a white sheet is hard to cut out, because the edge of the mug and the sheet are almost the same colour. The same mug on a mid-grey card has an edge that any background remover finds easily.
So: light products on a grey or coloured background, dark products on white. Keep it plain, without patterns or wood grain, and you’ll get clean edges every time.
If you do want the white background straight from the camera, curve the paper from the wall down onto the table instead of folding it. A curve hides the line where the wall meets the table, and that line is the thing that gives home setups away.
Phone settings worth changing
Step back and use the 2x lens
This is the single biggest improvement for most people. The main lens on a phone is wide, so when you hold it close to a product, the parts nearest the lens look too big. Bottles get fat necks and shoes get huge toes. Move back to about a metre, switch to 2x or 3x and frame the product from there. It suddenly looks the way it does in real life.
Turn off portrait mode
Portrait mode fakes a blurred background by guessing where the product ends, and it guesses wrong around thin parts like straps, handles and labels. You’ll remove the background later anyway, so give the background remover a sharp, honest photo to work with.
Tap to focus, then pull exposure down a little
Tap on the product, then drag the brightness slider down slightly. Phones tend to overexpose white products until the details disappear. A photo that’s a little dark can be brightened. Blown-out white can’t be brought back.
Shoot at full resolution
When you crop a product to a square later, you throw away everything around it. Start with as many pixels as you have. If your iPhone saves photos as HEIC and you run into upload problems, switch Settings → Camera → Formats to Most Compatible to get JPGs.
Which shots to take
For a typical listing, five photos cover nearly every question a buyer has:
- The main shot: straight on, with the phone at the product’s height, not looking down at it.
- A three-quarter angle, turned about 45 degrees, so people see depth.
- The back or the side if it’s different from the front.
- One close-up of the detail that justifies the price: stitching, texture, the clasp.
- One scale shot: the product in a hand, on a desk, next to something everyone knows the size of.
Only the main shot needs the white background. The others can stay in their setting, and they often sell better that way.
Small things that make photos look cheap
Dust. At full resolution, every speck of dust and every fingerprint shows. Wipe the product right before you shoot, and keep a lint roller nearby for fabric.
Reflections. Shiny products reflect whatever is in front of them, including you and your phone. Turn the product a few degrees until the reflection slides off, or hold a black card just out of frame to give it something dark to reflect.
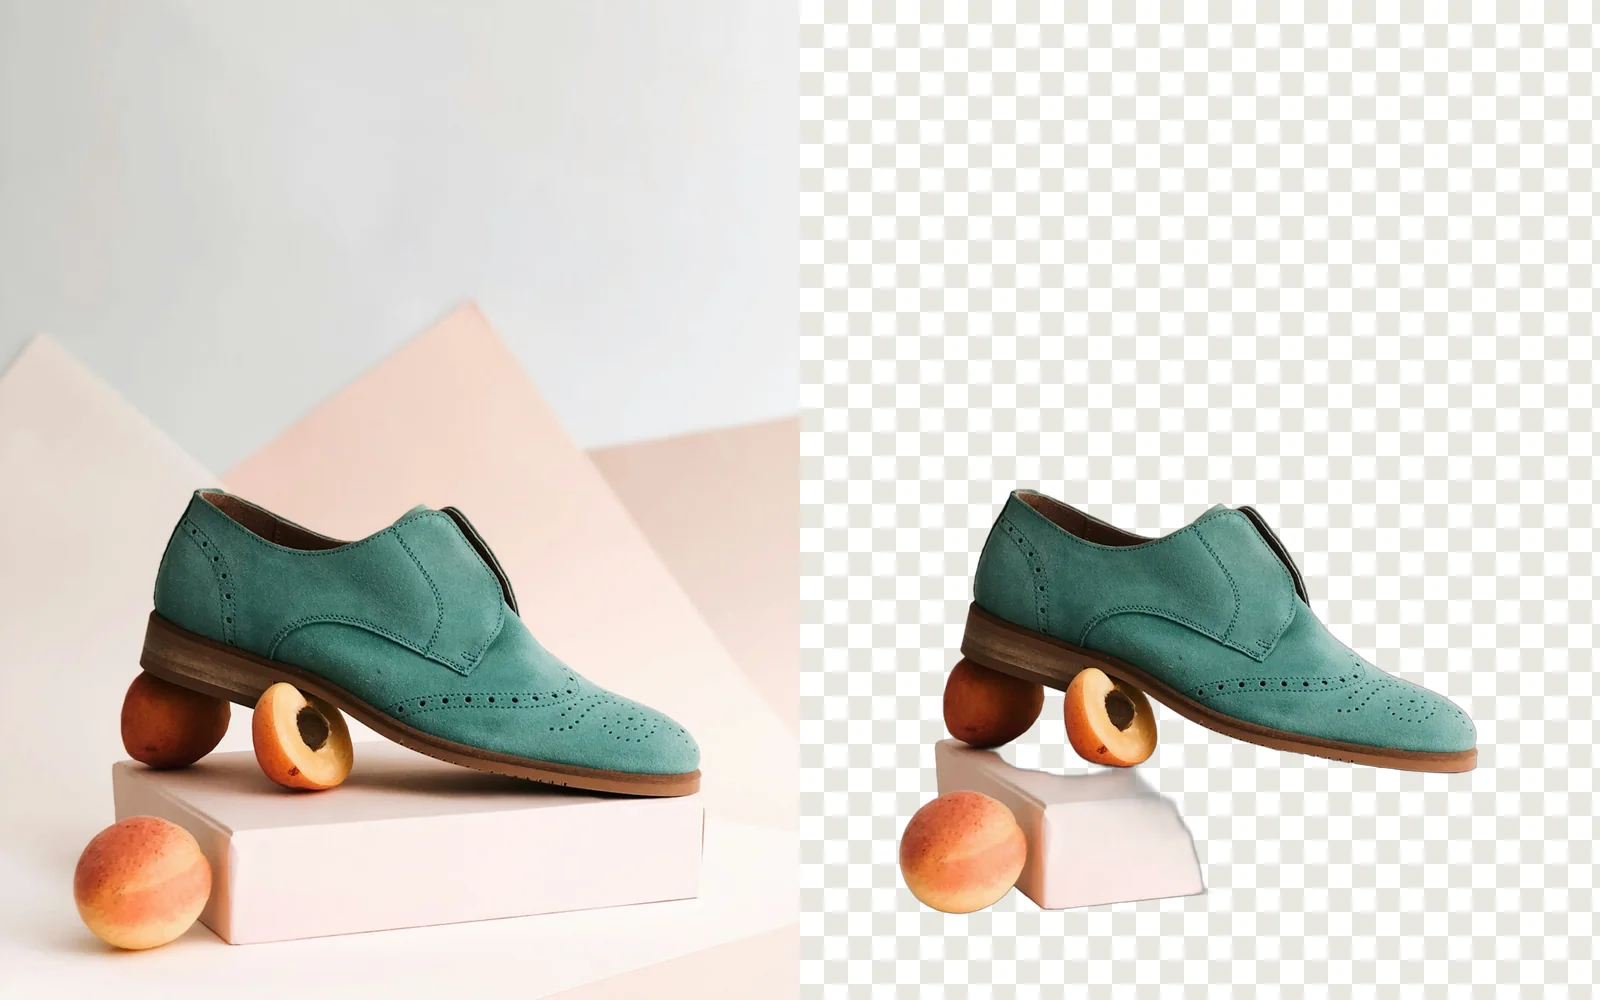
Props touching the product. A stand, a piece of fruit or a hand that touches the product will usually be treated as part of it when you remove the background. Either keep props a few centimetres away, or plan to erase them afterwards with a brush.
Wonky horizons. If the product is meant to stand upright, make sure it does. Turn on the grid in your camera settings and line it up.
After the shoot
Pick the best frame of each angle and remove the background. For marketplace main images, put the product on pure white, crop it to a square and leave a small margin around it. Our step-by-step guide covers the exact settings, including the 85% product fill that Amazon asks for.
If you shot a whole range at once, drop all the photos in together. Each one keeps its own crop and edits, and you can download the batch as a ZIP.
One last thing: shoot everything in one session, in the same spot, at the same time of day. Consistency is what makes a catalogue look professional, far more than any single perfect photo.
Got your photos? Clean them up here
Remove the background, put the product on white and crop to a square. Previews are free and need no sign-up.
Open the white background tool